As you know, I love burlap!! Recently I was at a boutique floral shop and fell in love with all the burlap bunnies they had in the store. They are so neutral they can be displayed year round. Of coarse I bought a small one for $17 (ouch) and then I hit pinterest for some ideas on how I could make my own.
After getting a few different ideas, it was time to put my own twist on some bunnies...here we go!
First you need a pattern. I googled bunny outlines, then I free handed my favorite one onto notebook paper. Now, if you're not quite this artistic, you can download an image and print it off. Next you want to cut it out. Be careful not to get too detailed of a bunny, you have to follow this outline in your sewing machine. Notice how I drew a straight line across the feet at the bottom, this is to make it easier to sew, and sit up.
Next step is to trace your bunny onto your burlap, make sure you stay away from the frayed edges. I used a light brown sharpie, but it was hard to see the line when I was sewing. I will probably use a quilters pencil next time. After you get the bunny traced, cut it out leaving at least an inch border or more around it. Then cut another piece to use as the backside. Since it's not the finished hem, you don't need to be precise.
After the burlap was cut, I cut a third layer out of muslin. This isn't necessary, but burlap frays easy and is see through, so I wanted this layer for stability and appearance. Once again, no need to be precise on this cut. I just laid the burlap on top and cut around it.
Here comes the tricky part. You have to follow the line around the bunny. Don't make the same mistake I did. I started at the ears and realized I wanted to stuff from the bottom...trial and error. I ended up sewing from the other ear down to meet at the bottom, not a big deal. I thought about putting on my quilters foot, but this worked, I just kept the speed turned down to the slowest setting so it wouldn't get away from me.
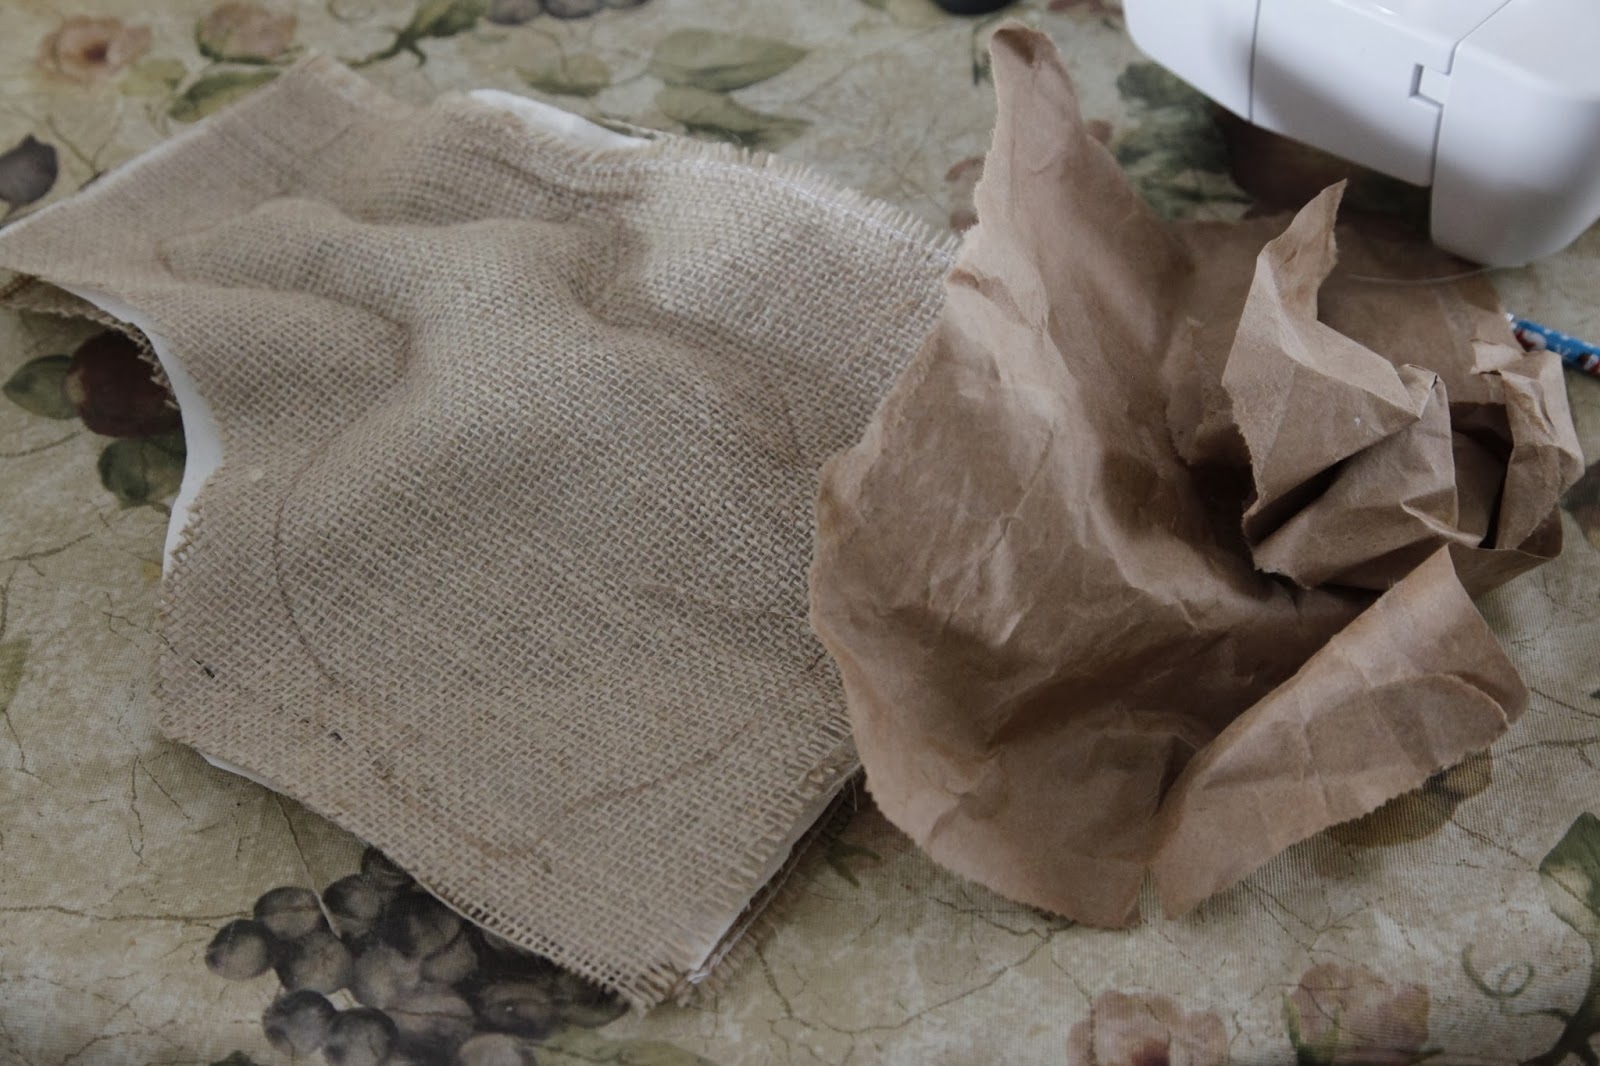
Here's where I saved a bunch of money. Instead of using over priced batting, I used an old paper grocery sack. (next time they ask, say paper not plastic) I just tore it in strips, crumpled it up, and shoved it in with a pencil (eraser side). Plus, because it's brown, it didn't show through the burlap- extra bonus!
After it was stuffed to my liking, I finished sewing up the bottom. You have to tuck the paper in as you go, or it will get sewn in too. Once I completed the sewing, I cut out the bunny leaving a quarter inch free edge.
You will find the burlap wants to fray, so I pulled the loose strings, then I went around the edges with modpodge to seal them. You could use any type of fray prevention, but this is what I had.
Now comes the fun part!! Decorating the plain thing. I like shabby chic, so I went with a torn muslin bow, a button shaped copper brad for the eye, and a flower made from pre-cut paper, assembled with a rhinestone brad. After they were in place a dabbed some hot glue under the eye and flower.
I thought the bottom needed something, so I took three layers of muslin, sewed a seem down the middle, and cut small strips going towards the seem. I simply attached it by sewing it onto the tail. Then I took my fingers and ruffed it all up.
Here's the finished little cutie! You could stick these just about anywhere. In a floral arrangement, basket, wreath, or on a shelf or mantle. It only took about 30 minutes, and cost less than a dollar. I already had all the supplies in my craft closet.
You can buy the pre-cut flowers in the scrapbook section of Michaels, it's a lot cheaper than buying all the different sized punches.


such a cute and easy bunny
ReplyDeleteGreat demo, thank you
ReplyDelete3 layers of muslin how long and how wide did you cut, then sew? This finished project is perfect for a decorative Easter gift for my adult daughters.
ReplyDeleteSave time by cutting your fabric in a squares, layer, trace and sew. Cut once.
ReplyDelete